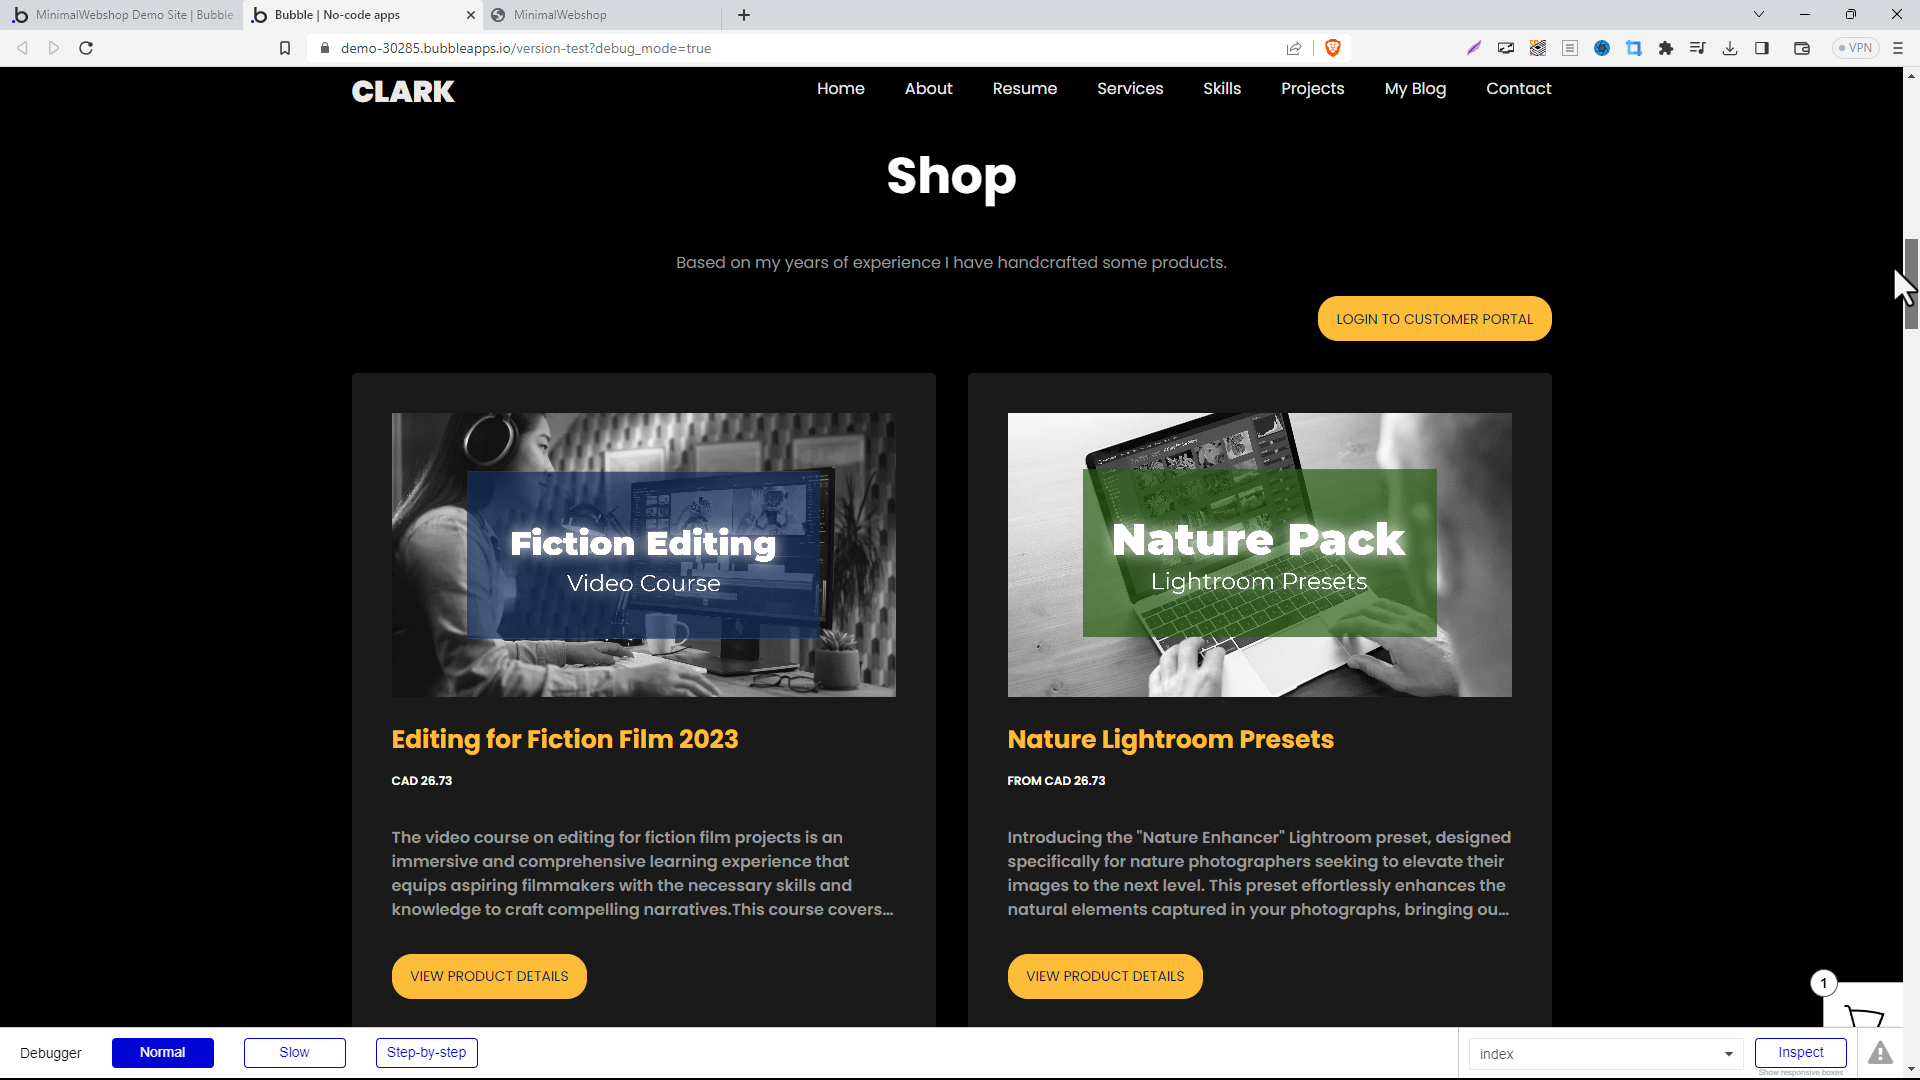
Learn how to easily add a Minimal Webshop to your bubble app or site. Follow our step-by-step guide to adding the webshop widget and showcase your products.
Step 1: Create your Bubble App or Website
If you happen to have a website or no code app built on bubble, integrating a minimal webshop is a pretty straightforward process you can handle yourself. In this guide, we show how to add a minimal webshop to a bubble site, using a practical example of a freelance designer's portfolio page where they are selling digital products.

Step 2: Set Up Your Webshop
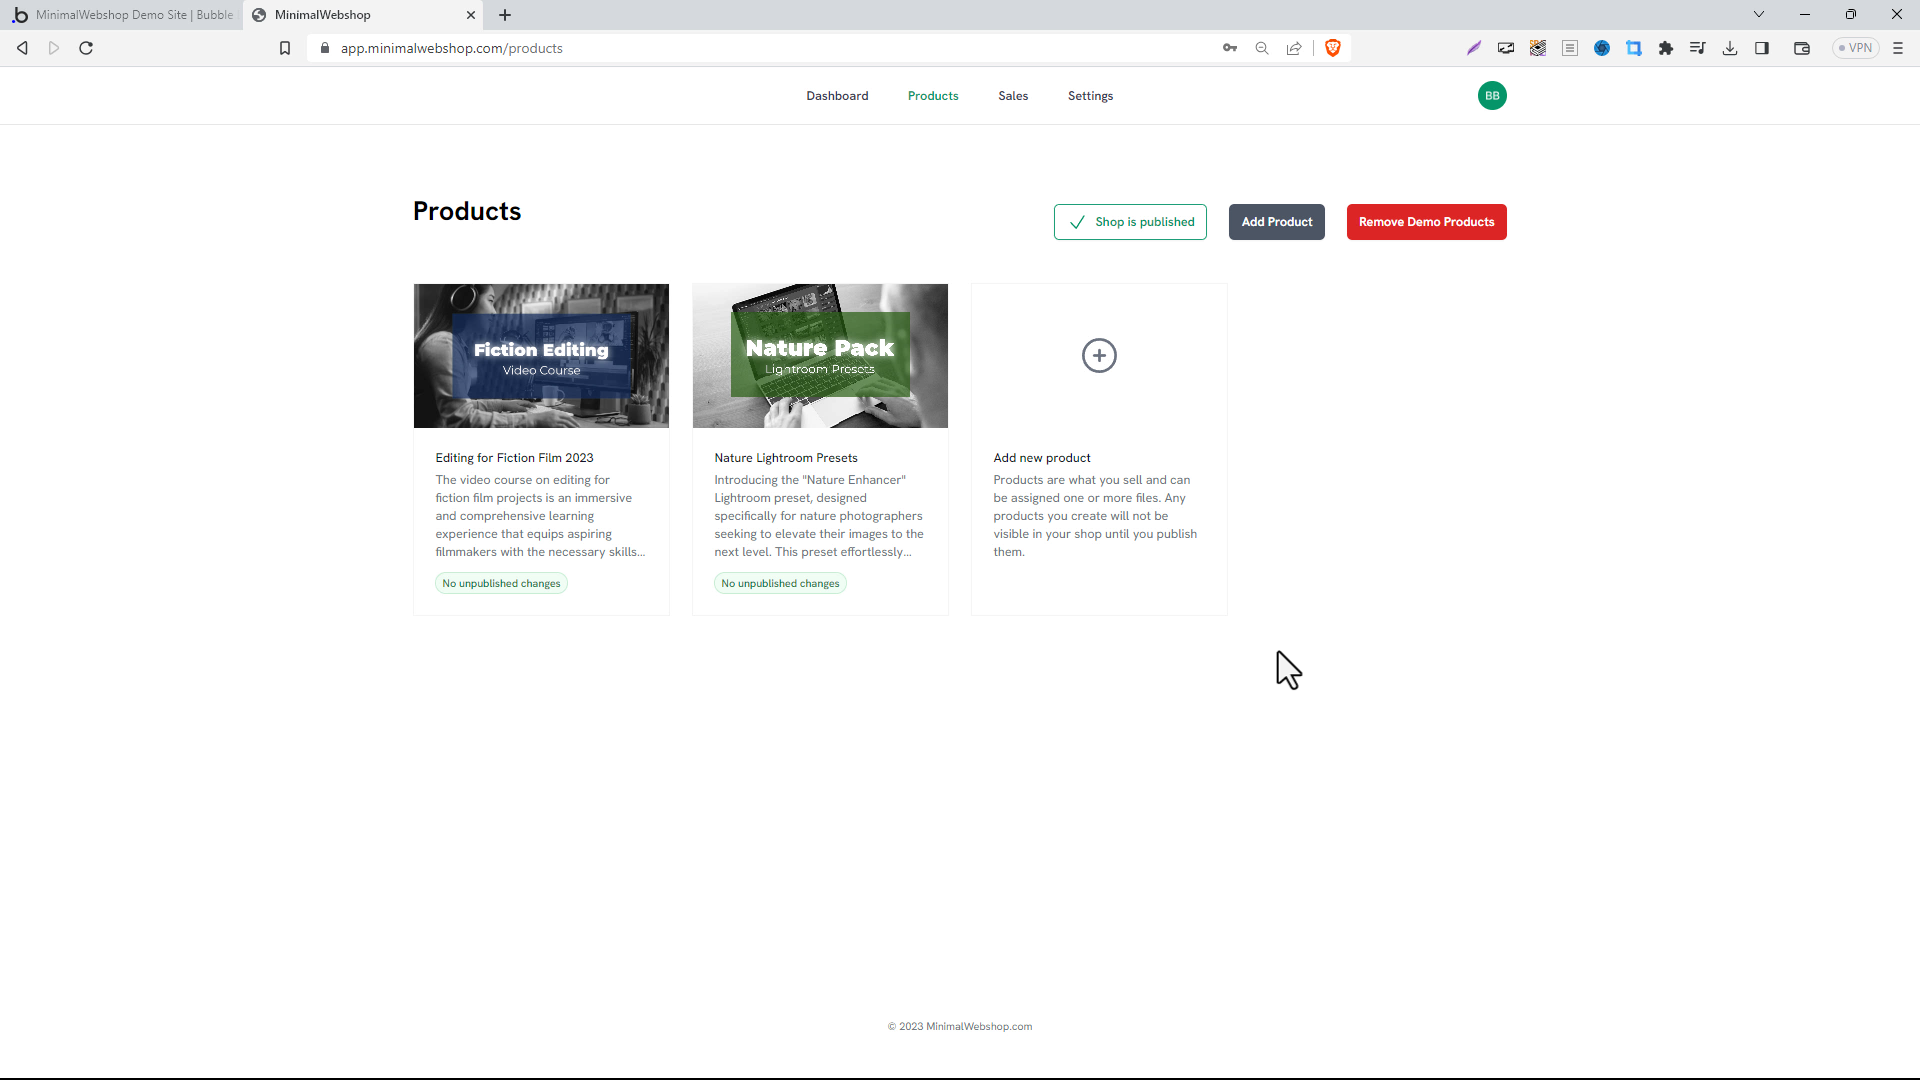
First create an MinimalWebshop account. Then add your products. This is the backbone of your online store, so make sure everything is well organized and presentable. The products that you add here will be directly displayed on your bubble site.
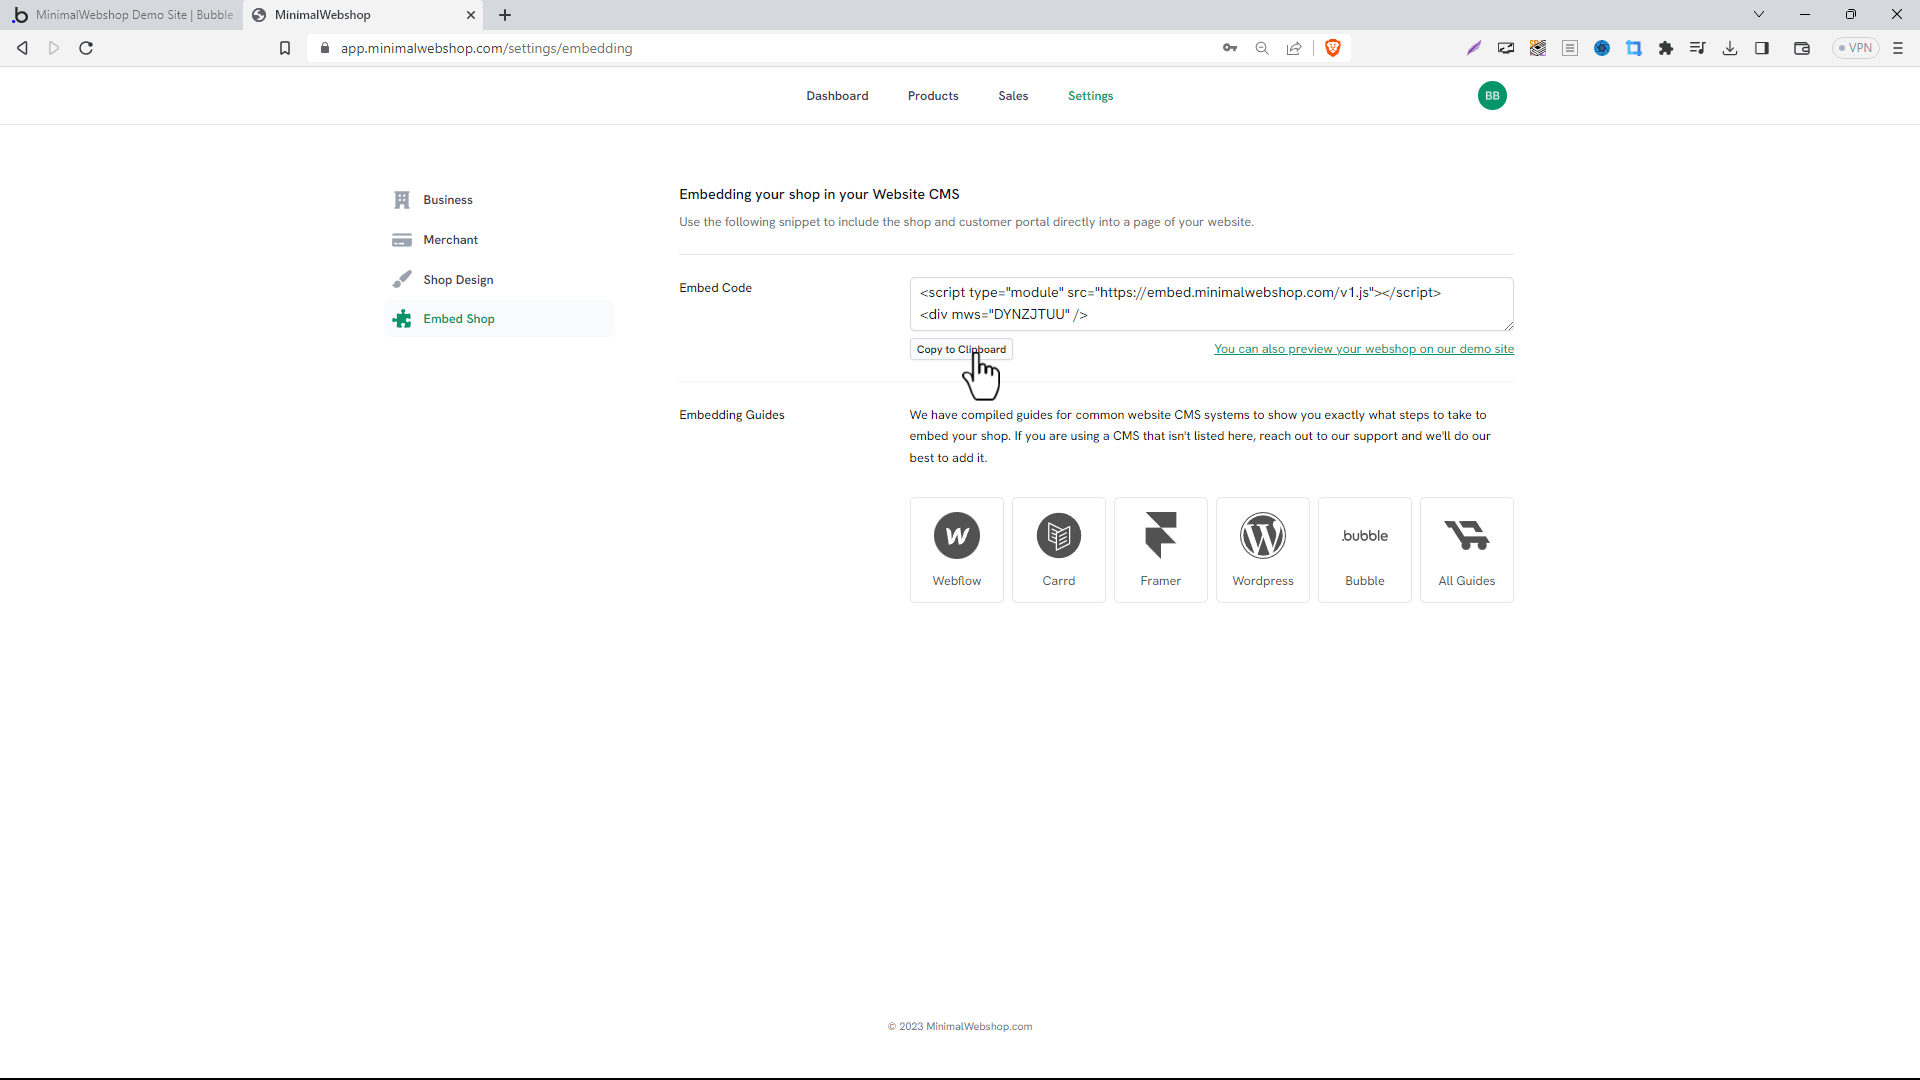
Step 3: Copy the Embed Snippet
After having all your products in place, navigate to the 'Settings' section and click on 'Embed Shop.' Here, you’ll find a code snippet. Copy this chunk of code for later use. Remember, this is the bridge that connects your Minimal Webshop to the 'Shop' page you created on your bubble site. Keep this code snippet handy as we'll need it in the next step.
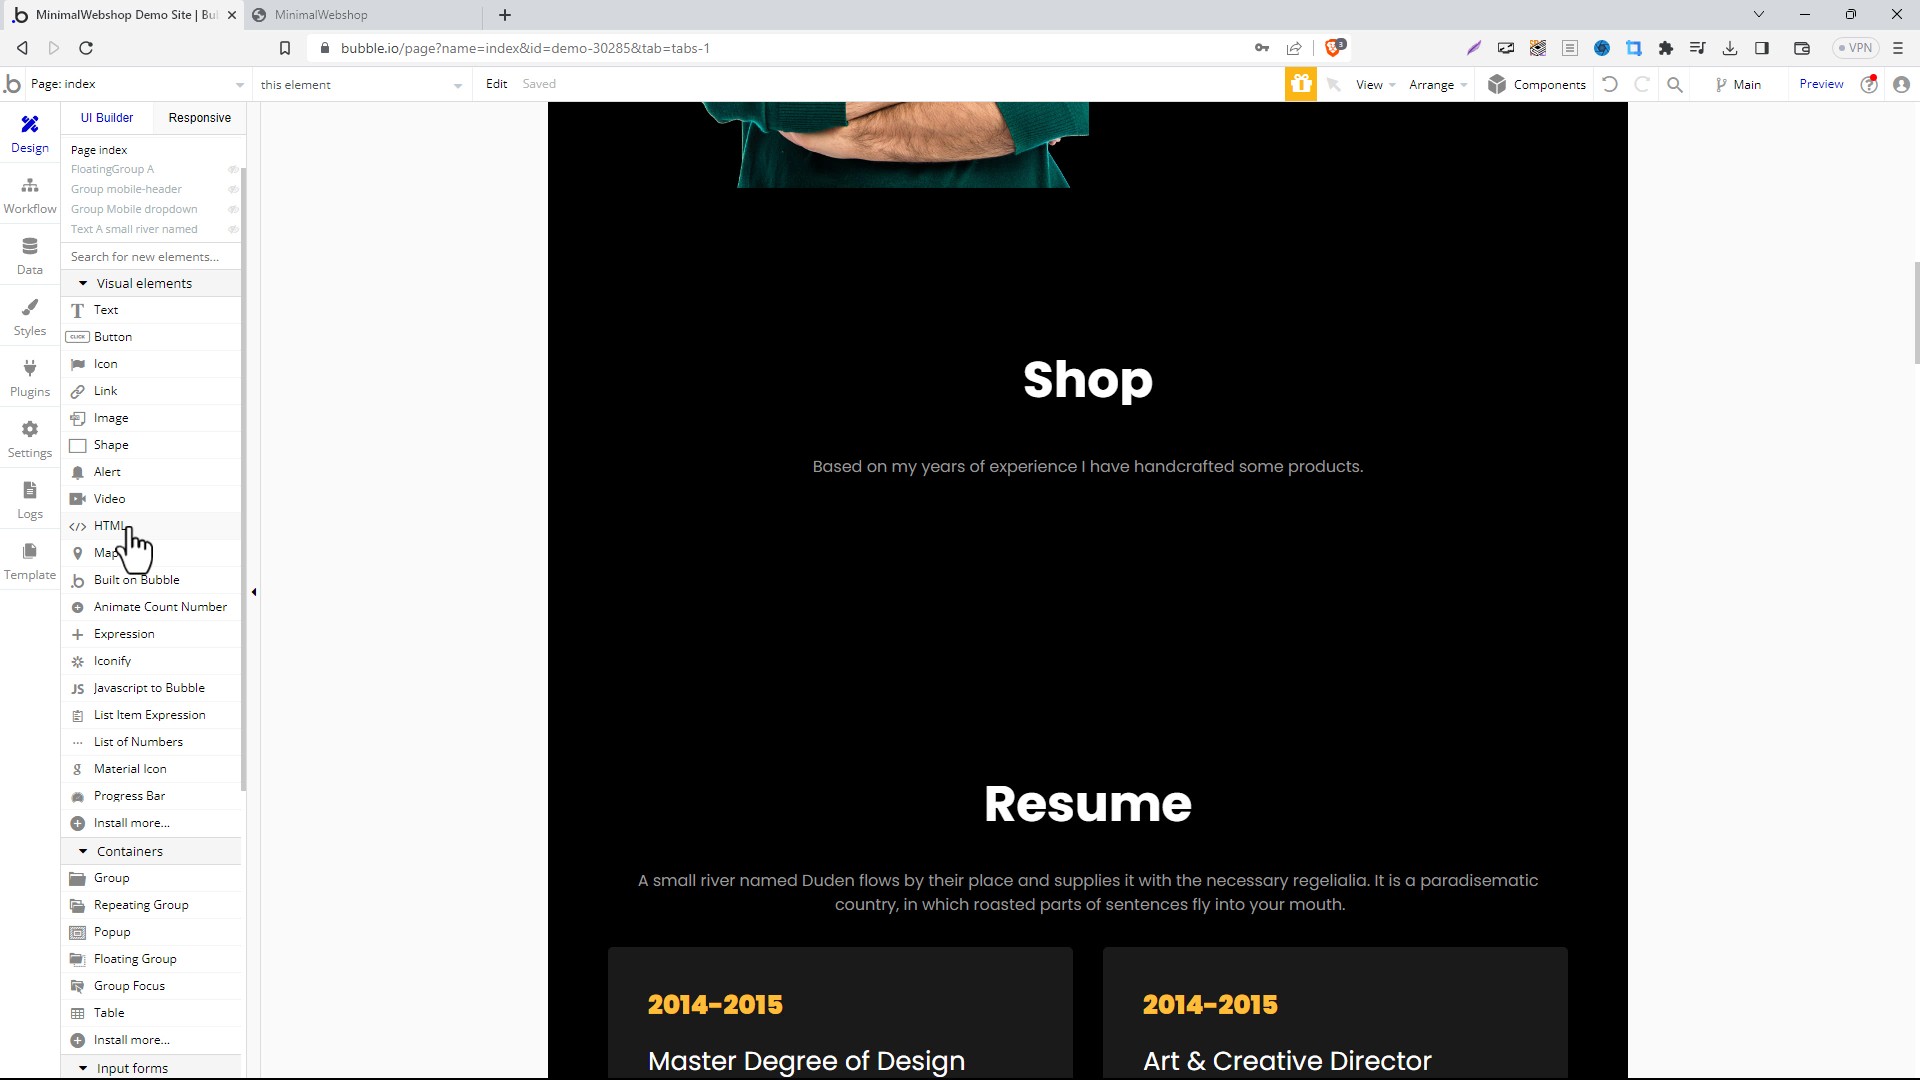
Step 4: Embedding the Shop on the bubble site
Returning to your bubble site, from the 'UI Editor' menu in the 'Visual elements' section, drag the 'HTML' widget into the spot of your website where you want the webshop to appear.
Step 5: Paste the Code
In the properties tab under "Appearance" paste the code you copied from MinimalWebshop into the top text box.
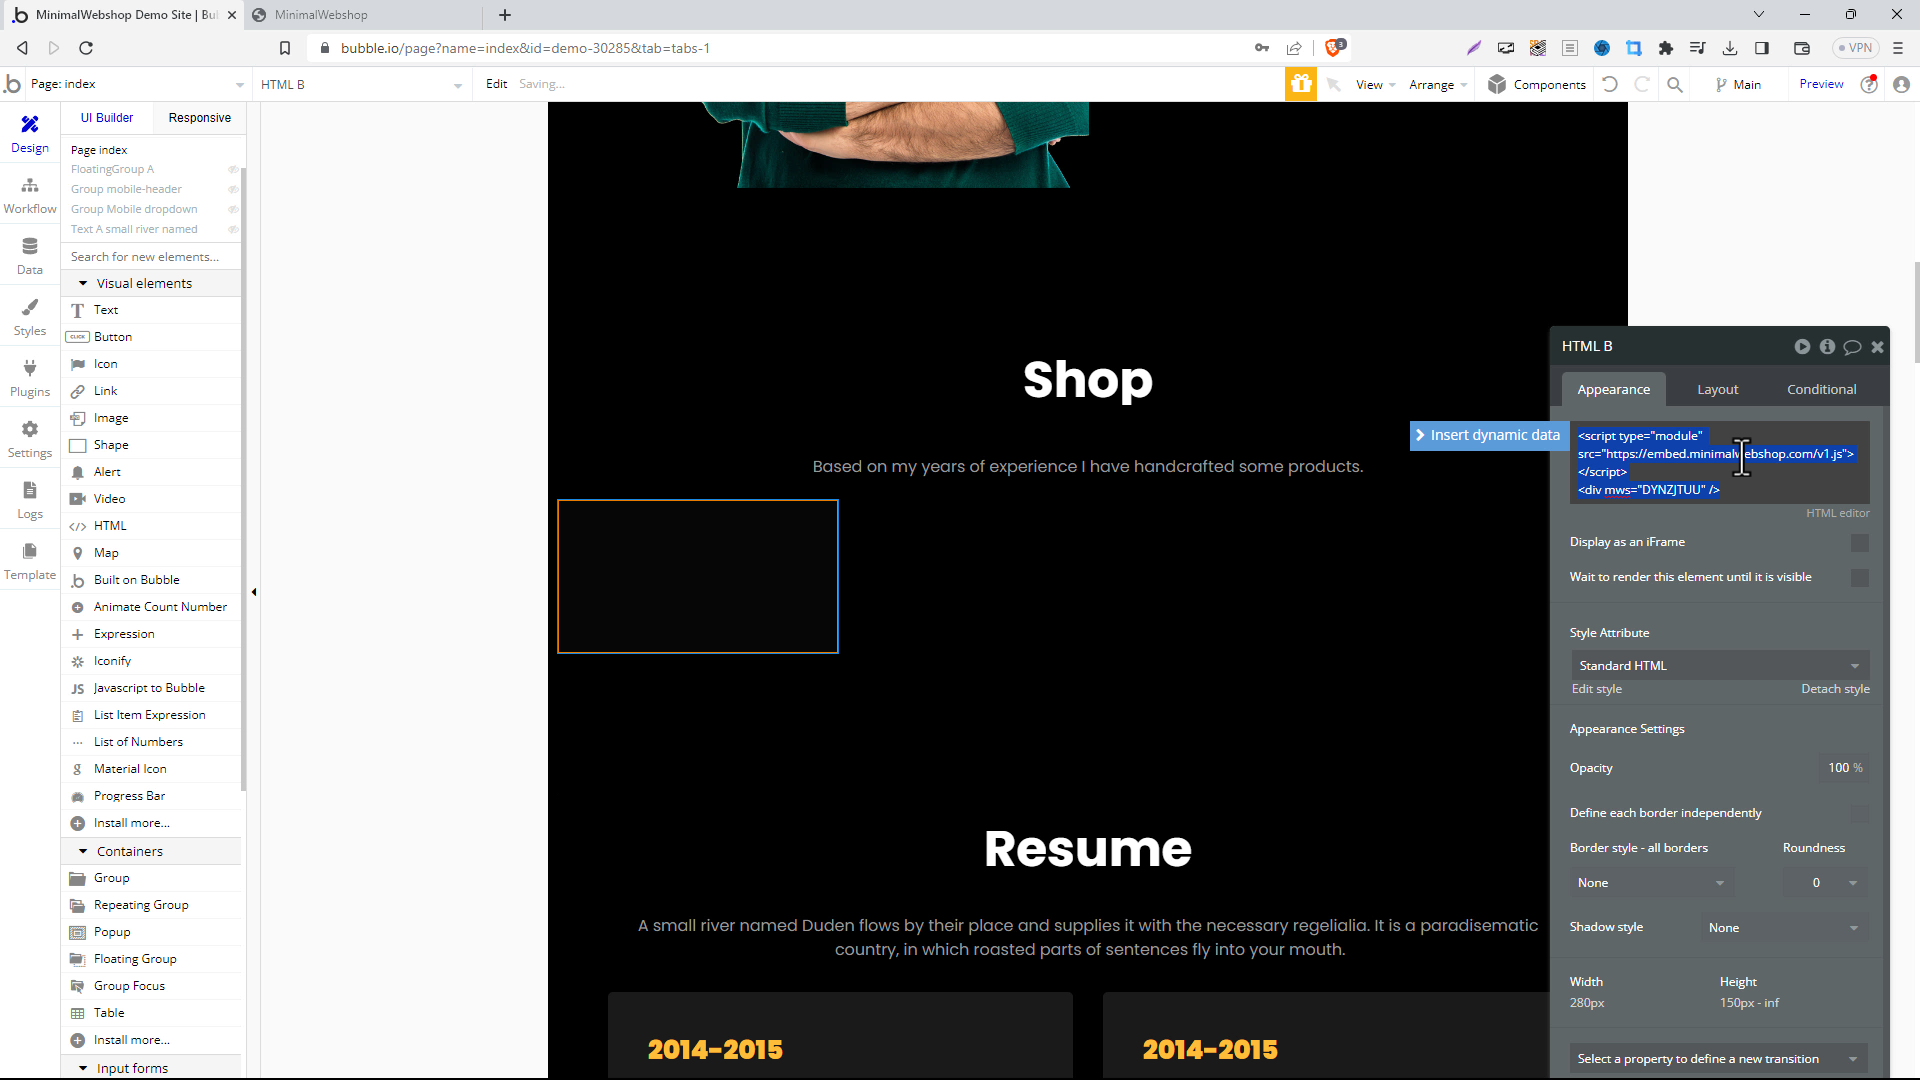
Switch to the "Layout" tab and set the width to 100% to let the shop expand to the full width of the page.
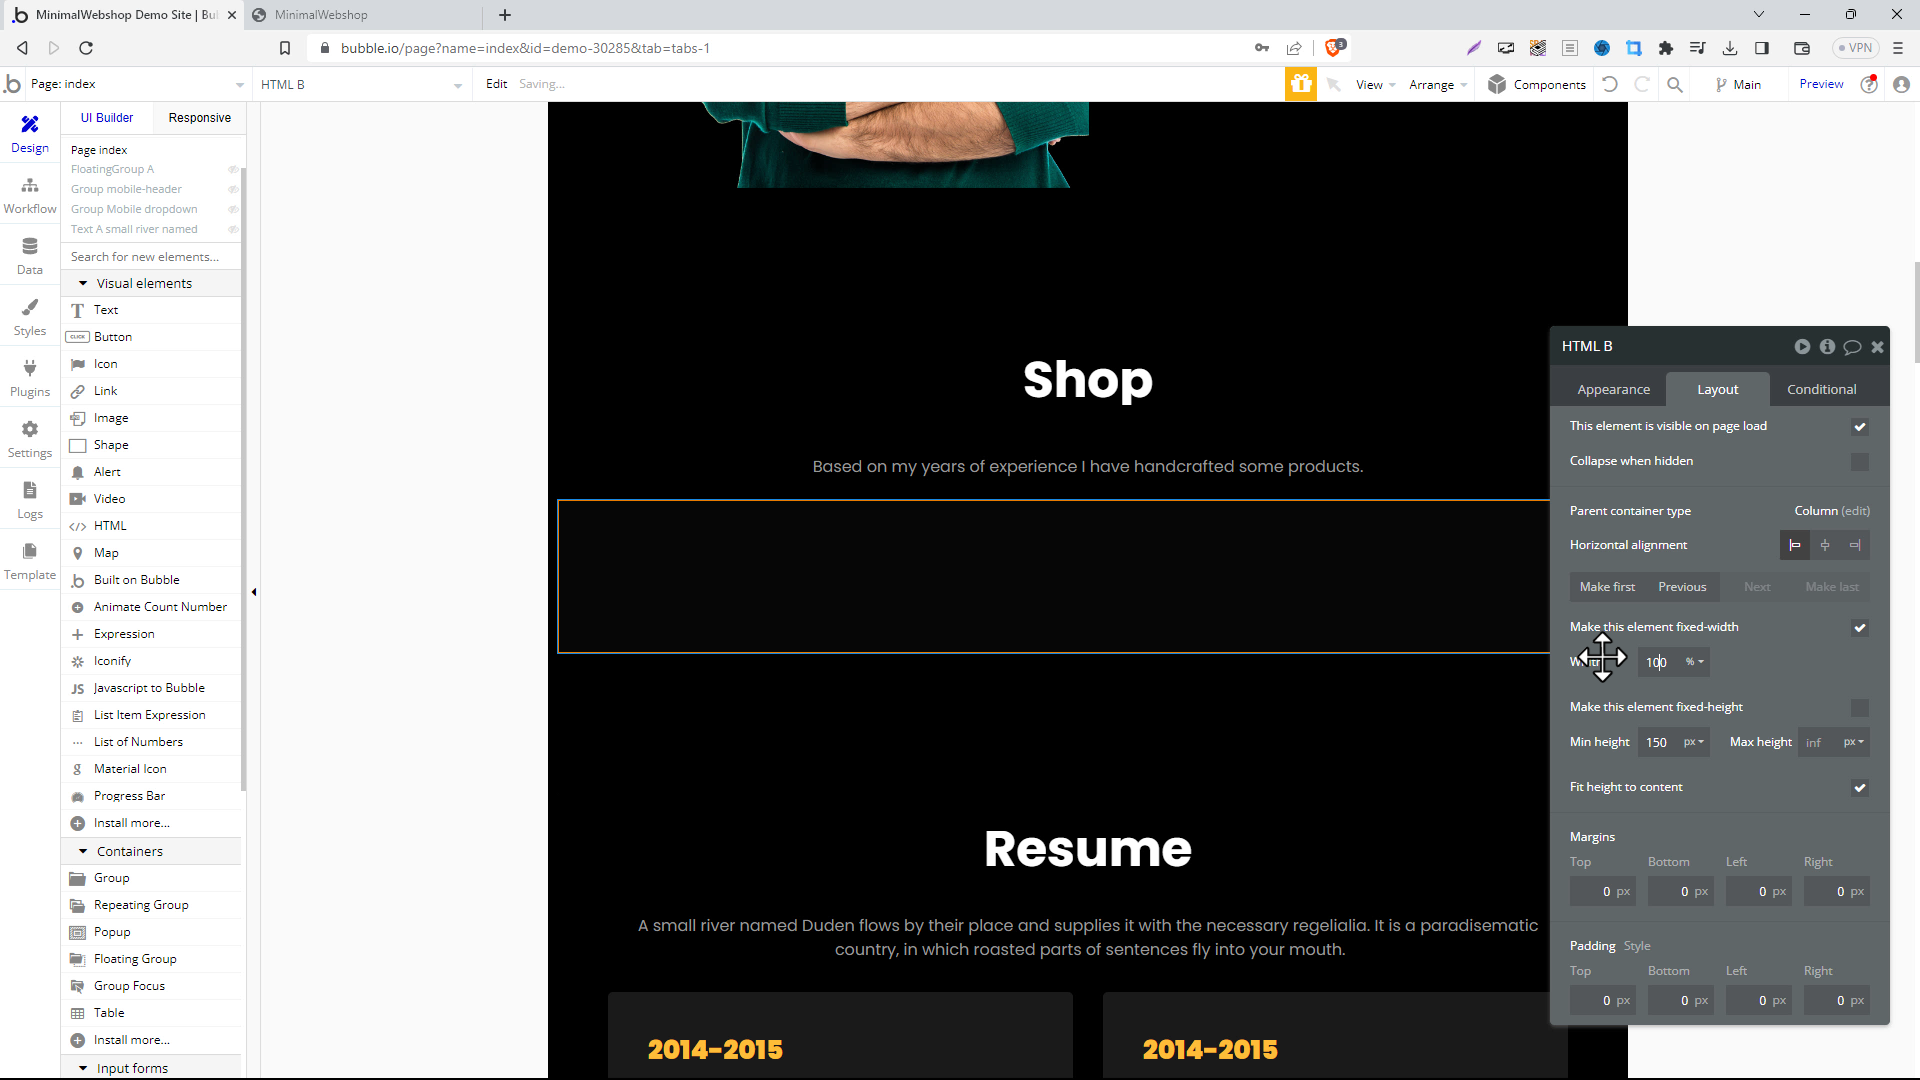
The editor won't show a preview of your webshop, but don't worry, hit the Preview link on the rop right to see your website.
Step 6: Publish the Webshop on Your Website
And there you have it! You've just added a sleek, minimalist webshop to your bubble site.
