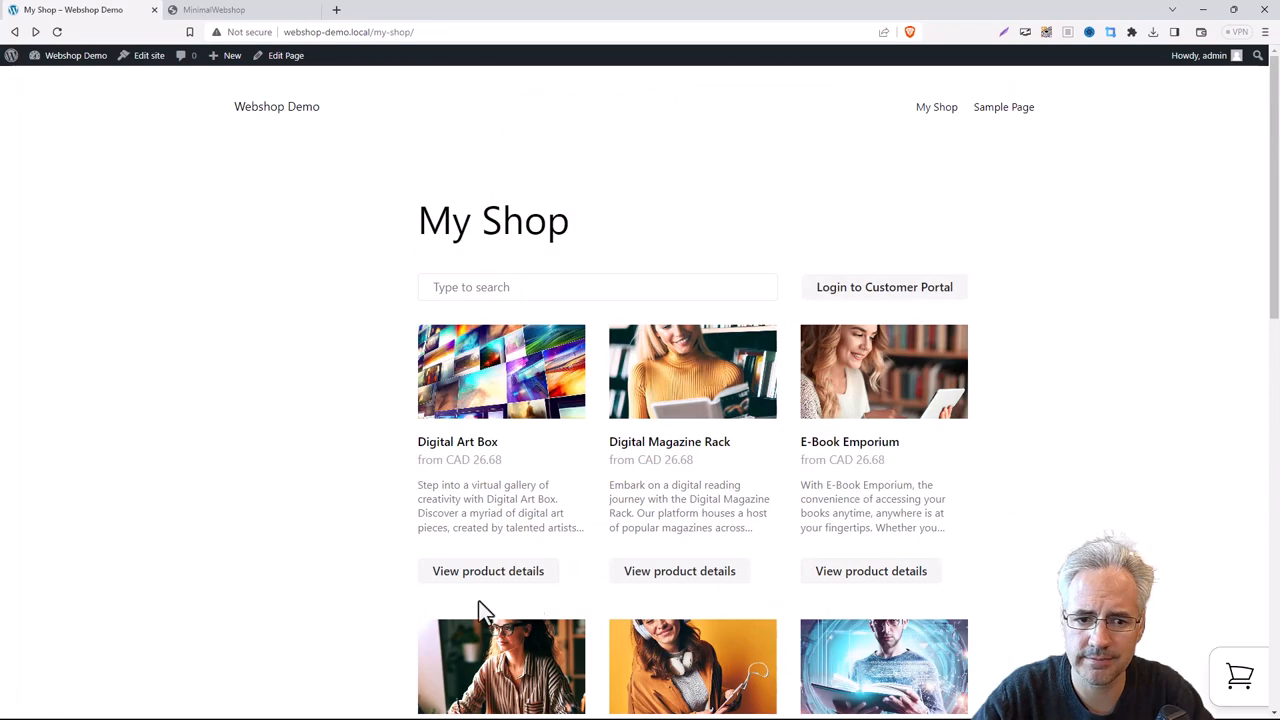
Learn how to easily add a Minimal Webshop to your WordPress site. Follow our step-by-step guide to embedding a custom HTML widget and showcase your products.
Step 1: Create a Shop Page
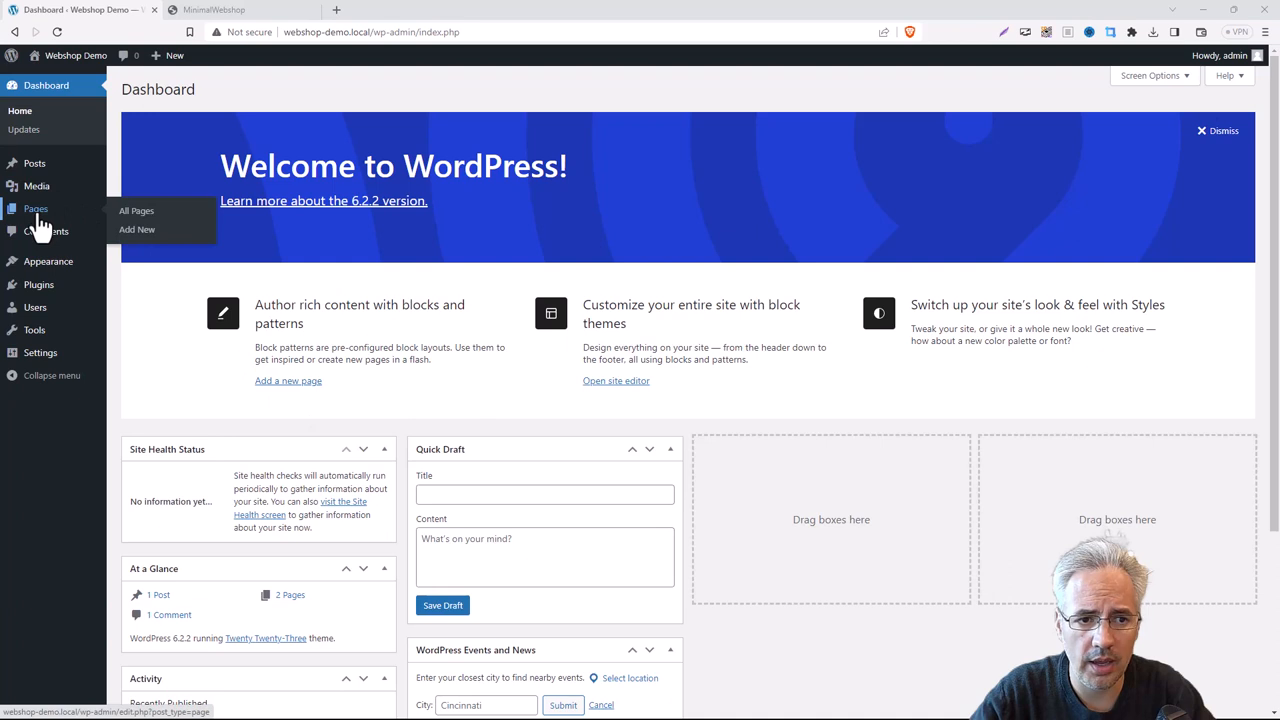
Before we get started, we need to have a clear space where we can implement our webshop. On your WordPress site, go ahead and create an empty 'Shop' page under the 'Pages' section. This is where we'll add your minimal webshop.
Step 2: Set Up Your Webshop
Next, proceed to the Minimal Webshop site. Here, you'll need to create an account and add all your products. This is the backbone of your online store, so make sure everything is well organized and presentable. The products that you add here will be directly displayed on your WordPress site.

Step 3: Copy the Embed Snippet
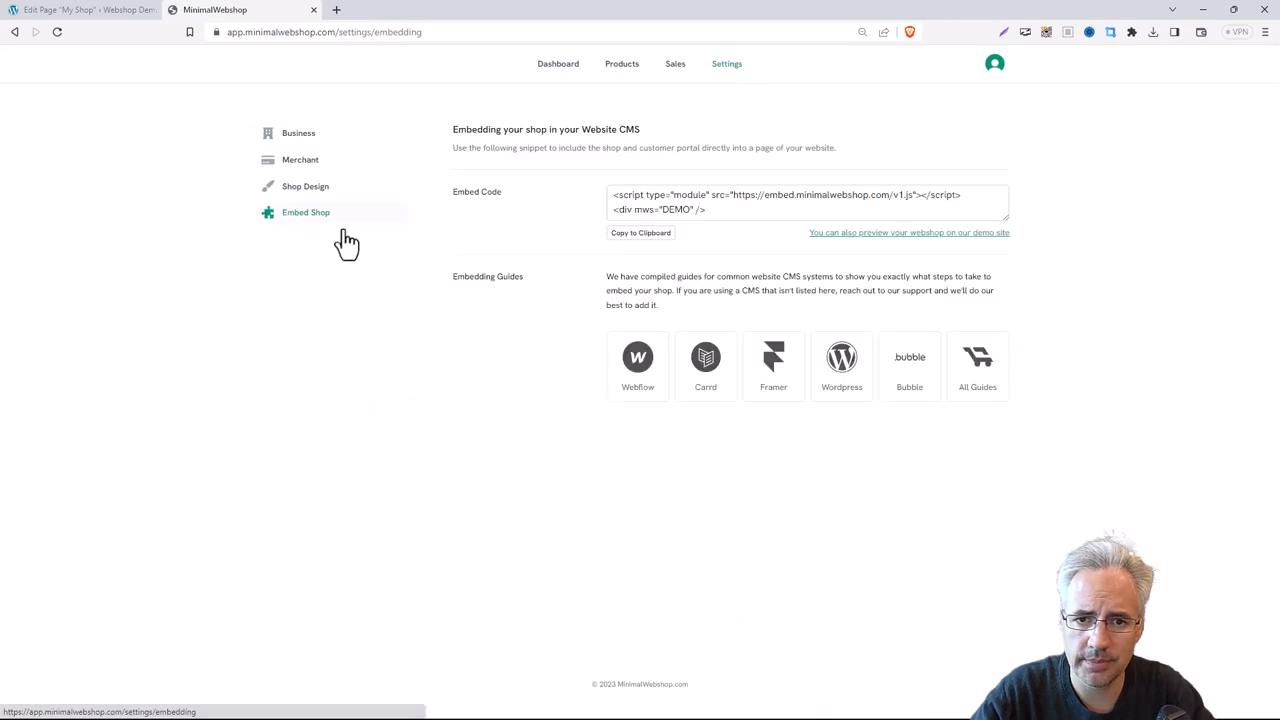
After having all your products in place, navigate to the 'Settings' section and click on 'Embed Shop.' Here, you’ll find a code snippet. Copy this chunk of code for later use. Remember, this is the bridge that connects your Minimal Webshop to the 'Shop' page you created on your WordPress site. Keep this code snippet handy as we'll need it in the next step.
Step 4: Back to WordPress
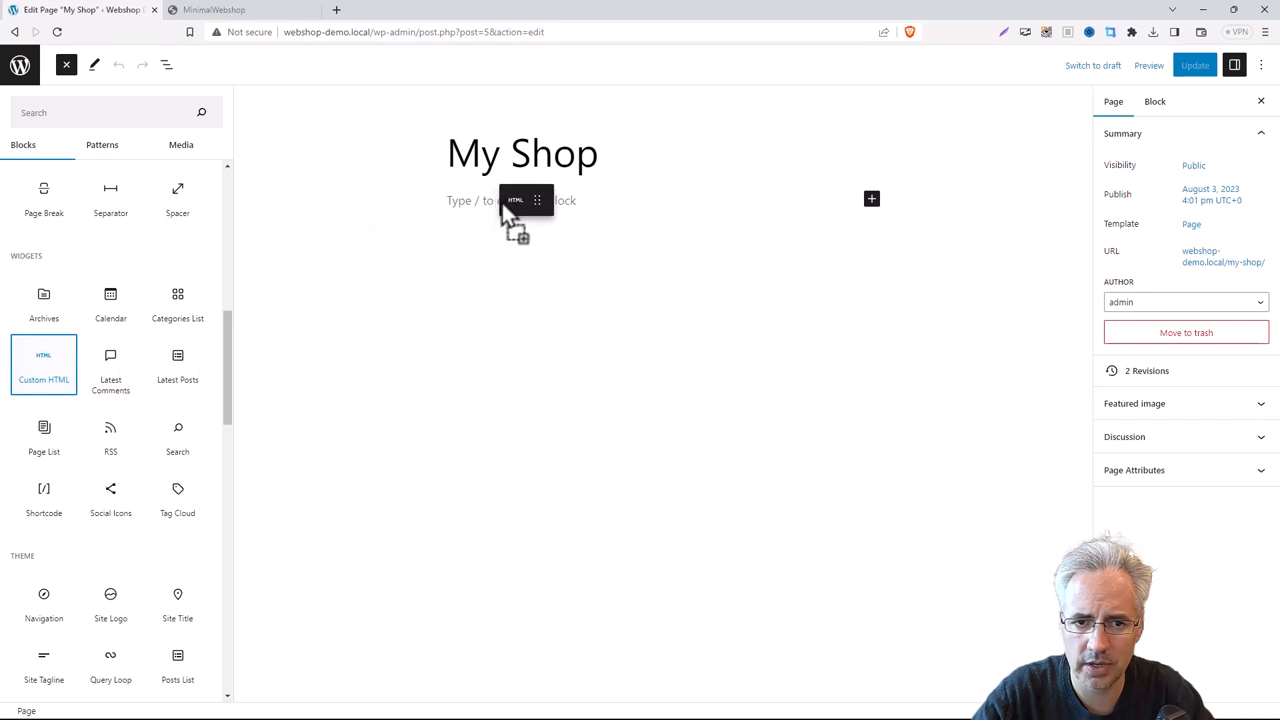
Returning to your WordPress site, choose the 'Add Element' option. Start scrolling down until you reach 'Widgets.' Among the various widgets that WordPress offers, we're interested in the 'Custom HTML' widget. Grab this widget and drag it onto your 'Shop' page.
Step 5: Paste the Code
You'll notice that the widget comes with a placeholder text saying, "Write HTML here". This is where your previously copied code goes. Paste the code snippet you got from Minimal Webshop into this box.
Don't be taken aback if you can't immediately see a preview of your webshop on the screen.
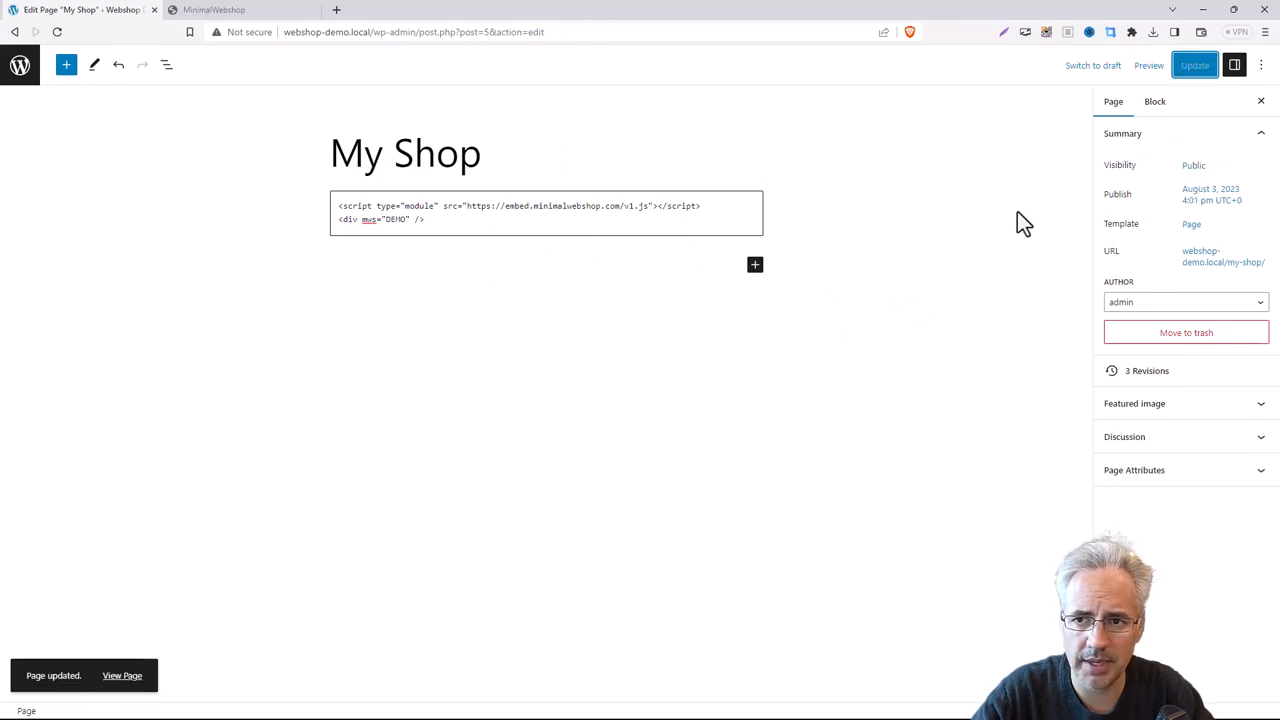
Step 6: Update and Admire Your Work
Click 'Update' and then 'View Page' to see the changes on your site. You'll notice that your webshop has been successfully added to your WordPress site.
And there you have it! You've just added a sleek, minimalist webshop to your WordPress site.
